How Do I Start Growing Plants at Home with No Experience?
New to plants? Start small, choose one forgiving plant, and learn the habits that matter most. This guide turns the first weeks of plant care into a simple, repeatable routine.
Quick Answer
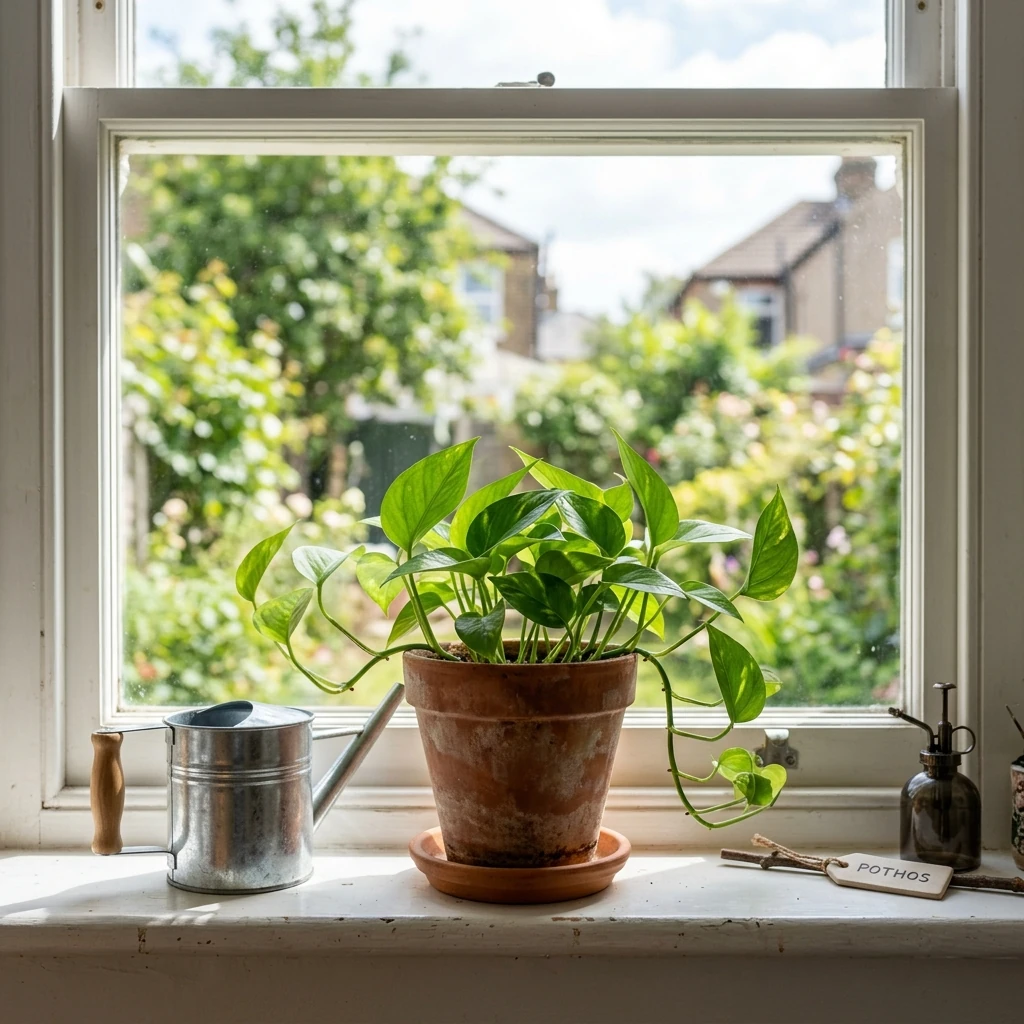
Start with one forgiving plant like a pothos or snake plant in a pot with drainage holes. Place it in bright indirect light and water only when the top 2–5 cm (1–2 in) of soil feels dry. Focus on learning one plant's needs before adding more.
Key Takeaways
- Begin with resilient beginner plants like Golden Pothos or Snake Plants.
- Use containers with drainage holes to avoid accidental waterlogging.
- Master the finger-test method to check soil dryness before watering.
- Place plants in bright indirect light and avoid frequent relocations.
If you have never grown a plant before, the smartest way to begin is to reduce the number of decisions you have to make. Pick one plant, one window, one pot, and one watering routine. Most beginners do not fail because they are bad with plants. They fail because they start with too many variables, water on a schedule instead of by soil condition, and buy plants that do not fit the room they live in. A good first setup gives you room to learn.
Introduction
Growing plants at home for the first time is easier when you treat it like learning a small system rather than collecting a lot of houseplants. One plant in one suitable spot will teach you more than five plants in five different windows. The goal is not to make the plant perform on command. The goal is to observe how light, soil, and water interact in your home so you can repeat what works. This guide is designed for absolute beginners in the United States, Canada, the United Kingdom, Ireland, Australia, New Zealand, and Western Europe, with practical advice that adapts to different climates and seasons.
Key Takeaways
- Start with one plant that suits your home's light and temperature.
- Use a pot with drainage and a well-aerated potting mix.
- Water based on soil moisture, not a fixed schedule.
- Keep conditions stable during the first month to help the plant acclimate.
- Observe your plant regularly to learn its natural rhythm.
- Add new plants only after you have successfully maintained the first one for several weeks.
Why It Matters
Plants are living systems that respond to their environment in predictable ways. Light drives photosynthesis, soil holds water and air, and roots require both moisture and oxygen for respiration. When a beginner understands those three interactions, plant care becomes much less mysterious. This is also why a plant can look healthy at the nursery and then decline at home: the nursery environment, watering frequency, and light level are usually very different from what the plant will experience in your living room. Understanding the 'why' behind basic care helps you adapt to changes and troubleshoot problems before they become fatal.
| Setup | Best For | Pros | Cons |
|---|---|---|---|
| One pothos in bright indirect light | Absolute beginners | Forgiving, fast feedback, easy to propagate | Can outgrow the space if ignored |
| One snake plant in a low-light corner | Busy households | Slow growth, drought tolerant, low maintenance | Overwatering is easy to do |
| One spider plant on a shelf | First-time indoor gardeners | Resilient, clear thirst signals, easy pups | Needs more regular watering than succulents |
| One cast iron plant in a cool room | Dim homes | Tolerates neglect and lower light | Slow to show obvious progress |
Science Behind It
Three biological factors determine whether your first plant succeeds: photosynthesis, transpiration, and root respiration. Photosynthesis depends on light; without sufficient light, a plant cannot produce the energy it needs to grow and repair itself. Transpiration is the plant's movement of water from roots to leaves and out through leaf pores; this process cools the plant and drives nutrient uptake. Root respiration requires oxygen in the soil; if the soil is too dense or too wet, roots cannot breathe and begin to rot. If the plant is too far from a window, it cannot generate enough energy. If the air is extremely dry or hot, the plant may lose water faster than it can absorb it. Good beginner care simply keeps those three processes in balance. For more on soil aeration and structure, see [best soil for growing healthy plants at home].
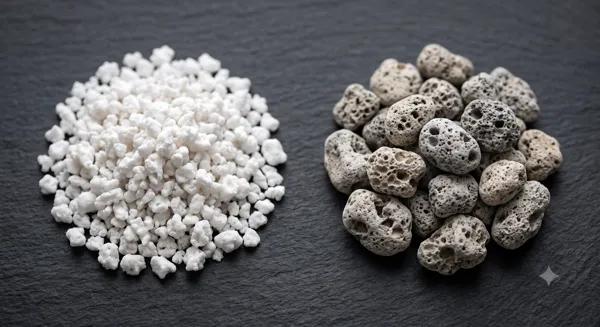
That is why a plant in a pot with drainage is so important. Drainage is not just about 'extra water escaping'; it is about keeping the root zone from turning into a stagnant, oxygen-poor environment. Most indoor plant failures start below the soil surface long before you see yellow leaves. The potting mix also plays a critical role: a mix that holds too much water suffocates roots, while a mix that drains too quickly may not hold enough moisture for the plant to uptake. For beginners, a standard indoor potting mix amended with about 20–30% perlite by volume provides a good balance of water retention and aeration.
Step-by-Step Guide
1. Choose one plant that fits your home
Start with a plant that is known to tolerate minor mistakes. Pothos (Epipremnum aureum), snake plant (Dracaena trifasciata), spider plant (Chlorophytum comosum), cast iron plant (Aspidistra elatior), ZZ plant (Zamioculcas zamiifolia), and heartleaf philodendron (Philodendron hederaceum) are all reasonable beginner choices. Match the plant to the light in your home instead of trying to force a plant into a poor location. For example, a snake plant can tolerate lower light, while a pothos prefers bright indirect light but will adapt to medium light. Visit a local nursery or garden center where you can inspect the plant for health and ask about its care.
2. Give it the right container
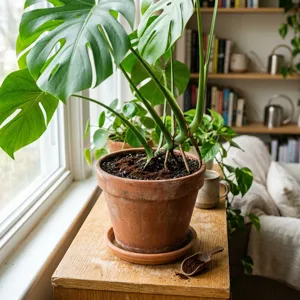
Use a pot with drainage holes. Pick a size that is only slightly larger than the nursery pot—about 2.5–5 cm (1–2 in) wider in diameter—unless the plant is clearly rootbound. A pot that is too large stays wet too long and can encourage root rot. For most first plants, a 15–20 cm (6–8 in) pot is plenty. Terracotta pots are porous and help soil dry more evenly, while plastic pots retain moisture longer. Choose based on your watering habits and home humidity.
3. Use a mix that breathes
Standard indoor potting mix is fine for many starter plants, but if it feels dense or peat-heavy, amend it with perlite or orchid bark. Roots need air pockets. A good mix should feel light and fluffy, not muddy when wet or concrete when dry. You can also buy a pre-mixed 'houseplant' or 'tropical' potting mix, which usually has better drainage than general-purpose garden soil.
4. Water by feeling the soil
Put your finger into the top 2.5–5 cm (1–2 in) of the mix. If it still feels cool and moist, wait. If it feels dry at that depth, water thoroughly until excess runs out of the drainage holes. Empty any saucer after the plant drains. The big mistake is adding small amounts of water too often. That keeps the top wet and the bottom soggy, encouraging root rot. Always water thoroughly and then allow the soil to dry to the appropriate level before watering again. For a deeper dive into watering techniques, see our [watering guide].
5. Keep the first month boring
For the first few weeks, avoid fertilizing heavily, repotting, or moving the plant from room to room. Stable conditions help the plant adapt. If the leaves stay firm and the plant does not wilt, that is success. After a month, if the plant is showing new growth and seems happy, you can consider a very light dose of balanced liquid fertilizer at half strength during the growing season. When the time comes to repot, refer to [how often should I repot my plants] for detailed guidance.
| Plant | Light | Watering | Beginner risk | Why it works |
|---|---|---|---|---|
| Pothos | Bright indirect to medium | When top 2.5–5 cm (1–2 in) dries | Low | Signals thirst clearly and recovers well |
| Snake plant | Low to bright indirect | Very infrequently; allow soil to dry completely | Low to moderate | Stores water in thick leaves |
| Spider plant | Bright indirect | Moderately regular; water when top 2.5 cm (1 in) dries | Low | Fast feedback and easy to read |
| Cast iron plant | Low to medium | Infrequent; allow soil to dry between waterings | Low | Handles low light and missed care |
Climate Considerations
In the United States and other temperate regions, the biggest climate issue indoors is not temperature alone but the combination of winter heating, low humidity, and reduced daylight. A plant that was happy in spring may slow down dramatically in winter. In very sunny climates, the issue may be stronger light and faster drying. In humid climates, the main concern is not drying fast enough and accidentally overwatering. The same plant can be easy in one home and difficult in another because the room climate is different. For example, a home in the humid southeastern US may need a lighter potting mix and less frequent watering than a home in arid Australia. Understanding your local climate helps you adjust care.
| Condition | What Happens | What to Do |
|---|---|---|
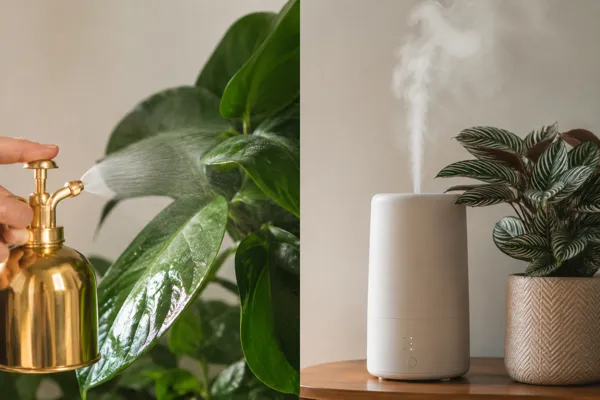
| Dry heated room (common in cold climates) | Soil dries faster, leaves may crisp | Check soil more often, avoid tiny repeated waterings; consider a humidity tray |
| Dim room (winter or north-facing) | Growth slows, soil stays wet longer | Choose low-light tolerant plants and water less often |
| Bright hot window (summer or south-facing) | Soil dries quickly, leaves may scorch | Move the plant back from the glass and monitor daily |
| Humid room (bathroom, coastal area) | Evaporation slows | Use a lighter mix and let soil dry more between waterings |
USDA Hardiness Zones and Indoor Growing
While your plants live indoors, your local climate significantly affects indoor conditions such as humidity, temperature swings, and daylight duration. The USDA Hardiness Zone map, though designed for outdoor perennials, can help you anticipate these factors. Homes in colder zones (3–5) experience long, dry heating seasons that lower indoor humidity, while warmer zones (8–10) may have higher humidity and shorter winters. Understanding your zone helps you adjust watering frequency and choose plants that match your home's natural conditions. The table below provides general guidance.
| USDA Zone | Typical Winter Indoor Humidity | Heating Season Duration | Recommendation for Beginners |
|---|---|---|---|
| 3–5 (Cold) | Very dry (20–30%) | Long, 5–7 months | Choose drought-tolerant plants; monitor soil moisture frequently; consider a humidifier. |
| 6–7 (Temperate) | Moderate (30–40%) | Moderate, 4–5 months | Balance watering; adjust for seasonal changes; good for most beginner plants. |
| 8–9 (Warm) | Moderate to humid (40–60%) | Short, 2–3 months | Ensure good drainage; water less often; watch for fungal issues in humid months. |
| 10+ (Hot) | Often humid (50–70%) | Minimal | Focus on aeration and fast-draining mixes; avoid overwatering; protect from extreme heat near windows. |
Seasonal Advice
During spring and summer, most plants grow more actively and may use water more quickly. This is the best time to start a new plant, as the longer days and warmer temperatures encourage root development and new growth. In fall and winter, growth slows and soil dries more slowly. Beginners often keep watering on the same schedule year-round, which is a common reason for overwatering in winter. If light levels fall, reduce feeding and check soil before every watering. A plant that is not actively growing does not need the same care as it does in July. In regions with very cold winters, also protect plants from cold drafts near windows.
Common Mistakes
- Buying a plant because it looks good rather than because it fits the room's light.
- Using a decorative pot with no drainage hole (or leaving it in the decorative pot without drainage).
- Watering a little bit every day instead of watering thoroughly and then waiting.
- Keeping a plant too far from the light it needs—often more than 1.8–3 m (6–10 ft) from a window.
- Repotting immediately after purchase without giving the plant time to adjust to its new environment.
- Fertilizing a stressed plant thinking it needs 'food'—fertilizer is not a cure for poor light or watering issues.
- Using garden soil or heavy compost indoors, which compacts and suffocates roots.
| Problem | Likely Cause | Best Fix |
|---|---|---|
| Yellowing lower leaves | Overwatering or poor drainage | Let the mix dry, check roots for rot, improve drainage |
| Leaf drop after purchase | Acclimation stress | Keep conditions stable and avoid overhandling |
| Weak, leggy growth | Too little light | Move closer to a brighter window or supplement with [grow lights] |
| Brown crispy tips | Dry air or irregular watering | Water thoroughly and stabilize the environment; increase humidity |
| Wilting despite wet soil | Root rot from overwatering | Stop watering, improve drainage, consider repotting in fresh dry mix |
Expert Tips
Think like a plant observer, not a plant rescuer. Watch whether new growth is healthy, whether the soil dries in a predictable way, and whether the plant stands upright without constant intervention. Use one simple note in your phone to track watering days and symptoms. That record becomes very useful when you add more plants later.
If you want to build confidence quickly, buy a second plant only after the first one has stayed healthy for several weeks. Choose a second plant with similar light and watering needs so you can repeat the same routine instead of creating a new one from scratch. Also, learn to feel the weight of the pot when dry versus wet—this is one of the most reliable ways to know when to water without even touching the soil. For additional guidance on lighting, especially in darker homes, see [grow lights].
| Buying question | Good sign | Warning sign |
|---|---|---|
| Leaves | Firm, evenly colored, healthy new growth | Severe spotting, mushy tissue, pest damage, yellowing |
| Soil | Lightly moist, not sour-smelling | Waterlogged, compacted, or bone dry and pulled from edges |
| Pot | Has drainage holes and fits the root ball | No drainage or roots circling heavily at the top or bottom |
| Plant posture | Stands naturally and looks balanced | Collapsed, stretched, or leaning hard toward light |
Buying Guide
Choose your first plant from a reputable nursery or garden center if possible. Inspect the undersides of leaves for pests like aphids, mealybugs, or spider mites, and look at the soil line for fungus gnats or obvious rot. Avoid plants that are already stressed unless you specifically want a rescue project. The easiest first purchase is a healthy, mid-sized plant in a standard nursery pot. That gives you time to learn before you have to repot. If you must order online, choose a seller with good reviews and a guarantee. When you bring the plant home, give it a gentle inspection and quarantine it away from any other plants you may have to prevent pest spread.
Essential Equipment for Beginners
You don't need much to start. Here's a checklist of recommended items, followed by a cost comparison to help you decide between budget and premium options.
- Pot – With drainage holes. Terracotta or plastic.
- Potting Mix – Indoor houseplant mix, preferably with perlite.
- Saucer – To catch excess water.
- Watering Can – With a narrow spout for precision.
- Pruners – For trimming dead leaves (optional but helpful).
- Moisture Meter – Optional, can help beginners learn soil moisture.
- Grow Light – Optional, useful if your home has low light.
Below is a rough cost guide for budget versus premium choices (prices in USD for reference).
| Item | Budget Option | Premium Option |
|---|---|---|
| Pot (15–20 cm / 6–8 in) | $5–10 (plastic) | $15–30 (decorative ceramic or terracotta) |
| Potting Mix (8 L / 2 gal) | $5–8 | $10–15 (premium organic blend) |
| Saucer | $2–5 | $8–15 (matching decorative) |
| Watering Can | $5–10 | $15–25 (stainless steel or large capacity) |
| Pruners | $5–10 | $15–30 (high-quality bypass) |
| Moisture Meter | $10–15 (basic) | $25–50 (digital with light and pH) |
| Grow Light (optional) | $20–40 (LED clip-on) | $80–150 (full-spectrum panel) |
| Total Starter Cost | $52–98 | $168–315 |
You can start with the budget options—they work perfectly for beginners. Premium items are nice to have but not necessary for success.
Maintenance Guide
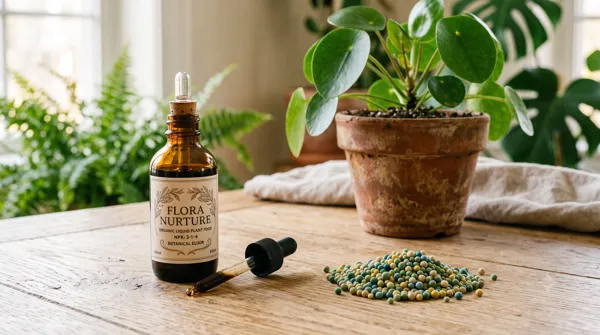
For the first month, keep the plant in a stable location and check soil every few days. After that, establish a simple routine based on light and dryness. Wipe dust from leaves when needed so they can photosynthesize efficiently. Rotate the pot a quarter turn every week or two if one side leans strongly toward the window. Fertilize lightly only during active growth (spring and summer) with a balanced liquid fertilizer diluted to half strength every 4–6 weeks. In winter, stop fertilizing altogether. Repot only when the plant becomes rootbound, typically every 12–24 months, and only in spring. For fertilizer recommendations, see [best fertilizer].
Troubleshooting
If your plant seems unhappy, do not start changing everything at once. First, check the soil moisture. Then evaluate the light. Then check for pests. Most beginner problems are caused by one of those three things. If the issue is unclear, make only one adjustment and wait a week before making another. Plants respond slowly enough that changing several things at once makes diagnosis harder. For leaf drop specifically, refer to [why is my plant dropping leaves] for a detailed breakdown.
| Symptom | Likely Reason | First Action |
|---|---|---|
| Leaves feel soft and yellow | Too much water | Pause watering and improve drainage |
| Plant leans heavily | Light is one-sided | Rotate and move closer to the window |
| Soil dries very quickly | Pot is too small or mix is too coarse | Check root crowding and pot size |
| No new growth | Light is low or season is slow | Be patient and reassess light; wait for growing season |
Frequently Overlooked Facts
One of the most overlooked facts is that many beginner plants fail because they were placed in the wrong light, not because they were watered badly. Another is that a plant can look tired for days after moving home and still be perfectly healthy. Plants also do not need constant attention to thrive. In many cases, steadiness is more important than intensity. Also, tap water can contain chlorine or fluoride that some plants, like spider plants and dracaenas, are sensitive to; if you see brown tips, consider using filtered or rainwater.
Common Myths
- Myth: You should water plants on a strict schedule. Reality: Watering should be based on soil moisture, not the day of the week.
- Myth: More fertilizer equals more growth. Reality: Over-fertilizing can burn roots and cause more harm than good, especially for beginners.
- Myth: Plants need direct sunlight to grow indoors. Reality: Many popular houseplants thrive in bright indirect light and can burn in direct sun.
- Myth: You should repot a new plant immediately. Reality: Most plants prefer to acclimate to their new home for several weeks before repotting.
- Myth: If leaves are drooping, the plant needs water. Reality: Drooping can also be caused by overwatering, root rot, or cold shock.
When NOT To
- Do not start growing plants if you travel frequently for more than a week at a time without someone to check on them, unless you choose very drought-tolerant plants like snake plants or ZZ plants.
- Do not start in a room with no windows or only artificial light unless you are willing to invest in a quality grow light.
- Do not start with a high-maintenance plant like a fern, calathea, or orchid as your first plant—they require consistent humidity and precise watering.
- Do not start growing plants if you are not willing to observe and adapt—plants are not set-and-forget decor; they require occasional attention.
- Do not start during extreme seasonal transitions (very hot or very cold weather) as shipping and acclimation stress are higher.
| Your Home Environment | Recommended Plant | Why It Works |
|---|---|---|
| Bright indirect light (near east or west window) | Pothos or Spider Plant | Thrives in this light, shows clear thirst signals, forgiving |
| Low light (north window or far from window) | Snake Plant or ZZ Plant | Tolerates low light, drought-tolerant, very low maintenance |
| Dry, heated home (winter) | Snake Plant or Cast Iron Plant | Tolerates dry air and occasional neglect |
| Humid home or bathroom | Spider Plant or Fern (if experienced) | Enjoys humidity, grows well in moist air |
| Bright, hot window (south or west) | Pothos or Succulent | Can handle some direct sun if acclimated; monitor water closely |
Summary
The best way to start growing plants at home with no experience is to keep the setup simple, pick a forgiving plant, and focus on light, drainage, and watering rhythm. Do not begin by trying to master every plant problem at once. Learn one plant well, then add another when the first one is stable. That is the fastest path to becoming confident with plants. Remember to adapt care to your local climate, observe your plant regularly, and enjoy the process of learning. With patience and attention, anyone can successfully grow plants indoors.
Recommended next actions
Next Best Actions
Move from reading to action with related calculators, plant profiles, and quiz-based recommendations.
Guide
Beginner Botanical Toolkit: 10 Essential Growing Tools
After setting up over 1,000 beginner plant corners in western apartments, I'll share the 10 tools that actually matter—and which ones you can skip—so you don't waste money on useless gadgets.
Guide
5 Best Entry-Level Plants for First-Time Owners
Having coached 2,000+ first-time plant owners across the US and Europe, I'll show you the 5 plants that forgive central heating, dim flats, and erratic watering—and how to keep them thriving.
Topic Guide
Watering
Learn everything about watering for your indoor and aquarium plants. Expert care tips, troubleshooting, and related guides.
Frequently Asked Questions
What is the easiest plant to start with at home?
Do I need special equipment to begin growing plants?
How often should a beginner water plants?
What kills new plant owners most often?
Can I learn plant care one plant at a time?
When should I repot my first plant?
Should I fertilize my plant when I first bring it home?
What if my plant looks worse after I bring it home?
How do I know if my plant is getting enough light?
What are the signs of overwatering vs. underwatering?
Should beginners buy seeds or plants?
Which beginner plants are pet safe?
Explore More