Bay Laurel Care Guide
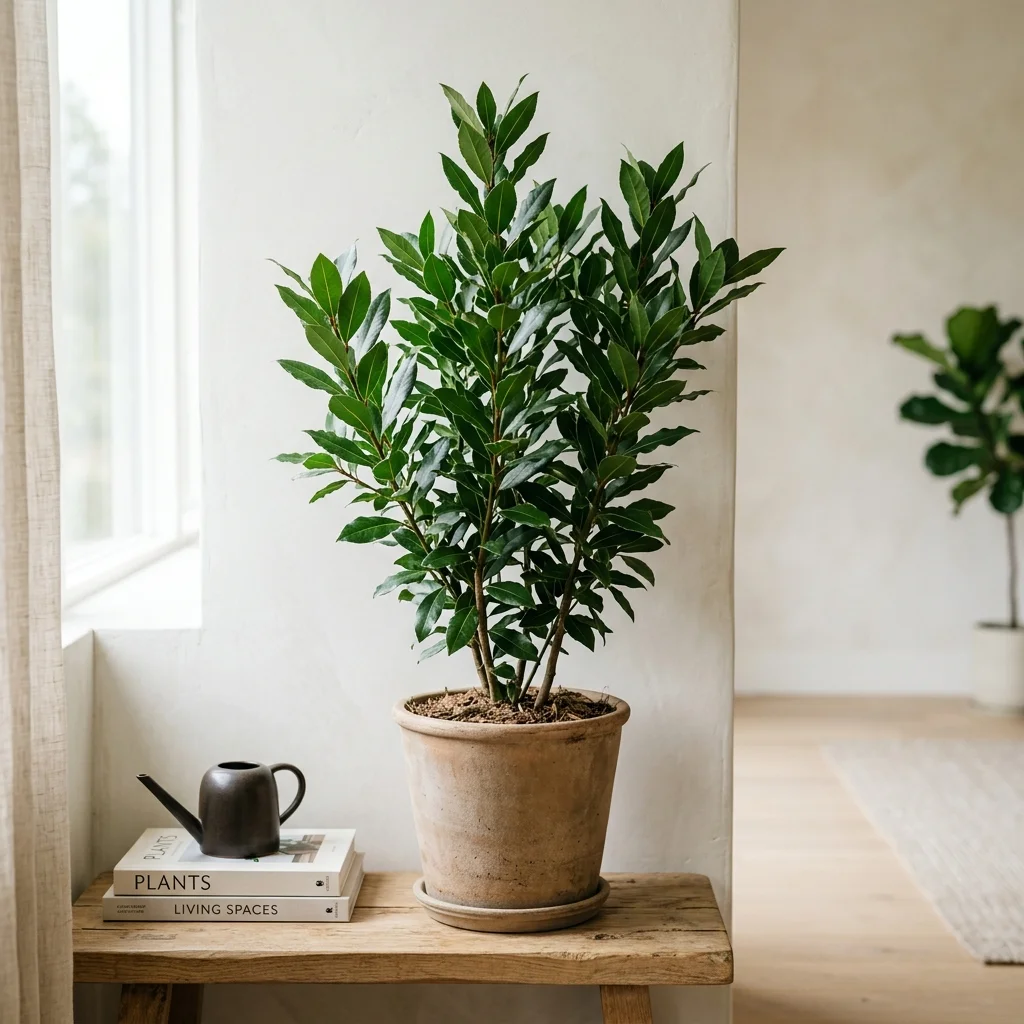
An aromatic, slow-growing evergreen tree commonly kept as a culinary container plant.
-
Difficulty
Medium
-
Light
Bright indirect
-
Temperature
60°F - 75°F (15°C - 24°C)
-
Growth
Moderate
-
Expert Insight
Master-grower data coming soon.
-
Common Mistake
Real-world care data coming soon.
-
Environment
Real-world conditions coming soon.
Quick Answer
Bay Laurel (Laurus nobilis) needs bright light, a fast-draining gritty potting mix, and infrequent watering. Let the top few inches of soil dry before rewatering, roughly every 7-10 days indoors. Overwatering and heavy, water-retentive soil are the most common causes of root rot in container-grown bay laurel, so drainage matters more than watering frequency.
Key Takeaways
- Use a gritty, fast-draining potting mix to protect roots from sitting water.
- Water only after the top few inches of soil have dried out.
- Provide bright light for compact, aromatic, healthy foliage growth.
- Avoid saucers holding standing water, which causes root suffocation.
- Prune to shape; bay laurel tolerates trimming well as a topiary or hedge.
Overview: The Timeless Culinary Herb
Bay Laurel (Laurus nobilis) is an aromatic evergreen shrub or small tree native to the Mediterranean basin. Celebrated for centuries as both an indispensable culinary herb and an ornamental landscape staple, it produces glossy, leathery leaves rich in fragrant essential oils. In our nursery experience, Bay Laurels adapt exceptionally well to container life, making them ideal for sunny patios, balconies, and doorstep herb collections.
Sunlight & Climate Requirements
Bay Laurels thrive best in full sun to partial shade, ideally receiving at least 4 to 6 hours of direct sunlight each day. While established trees are hardy down to USDA Zone 8 (tolerating short cold snaps around -5°C / 23°F), potted root systems are more vulnerable to freeze damage. Move containers indoors to a bright, cool room before hard frosts set in. In scorching tropical or dry summer climates, providing light afternoon shade helps prevent leaf scorch and keeps the root zone cool.
Ideal Potting Mix & Drainage
The single most critical factor in keeping Bay Laurel healthy in containers is aeration. Dense, water-retentive garden soils lead directly to root asphyxiation and rot. Use a gritty, open potting medium—such as a blend of 50% premium potting mix, 30% coarse perlite or pumice, and 20% well-aged compost or coco peat. Maintain a slightly acidic to neutral pH between 6.0 and 7.0, and always use terracotta or fabric pots with unobstructed drainage holes.
Watering Routine & Moisture Control
Bay Laurels are moderately drought-tolerant once settled, but container plants require a consistent soak-and-dry routine. Water thoroughly until moisture runs freely from the drainage holes, then discard any runoff sitting in saucers immediately. A practical nursery rule of thumb: wait roughly 48 to 72 hours after the top 2 inches of potting mix feel dry before irrigating again. Cut back watering significantly during the slow-growing winter months.
Fertilization & Nutrition
Because slow-growing potted plants gradually deplete soil nutrients, feed your Bay Laurel during the active growing season (spring through mid-summer). Apply a balanced, slow-release organic fertilizer or a diluted liquid seaweed/fish emulsion blend every 3 to 4 weeks. Avoid heavy nitrogen fertilizers in late autumn to prevent tender, cold-sensitive new growth.
Pruning, Shaping & Repotting
Bay Laurel responds remarkably well to shearing, making it a classic candidate for topiaries, standards (lollipop forms), or dense decorative shrubs. Prune in late spring or mid-summer using clean bypass pruners, cutting back to an outward-facing bud. Repot every 2 to 3 years into a pot 2 inches wider, or refresh the top 2 inches of soil annually with fresh organic compost if maintaining a fixed container size.
Harvesting & Curing Leaves
Mature leaves harvested in mid-to-late summer contain the highest concentration of flavorful volatile oils. Pick larger, deep-green leaves as needed. While fresh leaves can be used directly in cooking, drying them for 1 to 2 weeks in a warm, shaded, well-ventilated spot mellows any raw bitterness and concentrates their classic woodsy aroma. Store dried whole leaves in an airtight glass container away from direct sunlight.
Pest Control & Common Problems
Watch for scale insects, bay suckers (psyllids), and spider mites, particularly on the undersides of leaves and along tender stems. Treat early infestations with regular applications of cold-pressed neem oil spray or horticultural soap. If leaves turn yellow and drop easily, inspect root health immediately to rule out overwatering or compacted, poorly draining soil.
Calculator
Interactive Calculators for Bay Laurel
Structured Plant Data
Plant Data Profile
The following data is extracted directly from our botanical knowledge graph for accuracy and transparency.
Environmental Parameters
| Parameter | Recommended | Survivable |
|---|---|---|
| Temperature | 60°F - 75°F (15°C - 24°C) | 20°F - 90°F (-7°C - 32°C) |
Bay Laurel Growing Methods Compared
| Growing Method | Space Requirements | Growth Rate | Recommended for |
|---|---|---|---|
| Outdoor in Ground | Minimum 6 feet wide | Moderate | Mediterranean climates |
| Container (Terracotta) | Minimum 12 inches diameter | Slow | Indoor/Balcony growing |
| Topiary/Standard | Minimum 10 inches diameter | Slow | Formal gardens and patios |
Troubleshooting & Diagnostics Guide
1 Why are my Bay Laurel leaves turning yellow?
Diagnosis: Overwatering or poor drainage
Treatment: Check soil moisture; allow the top 2 inches to dry before watering. If drainage is poor, repot in a well-draining soil mix.
Prevention: Use well-draining soil and water only when the top inch feels dry.
Authoritative Resources
For additional peer-reviewed information on plant diseases, toxicity, and care, consult these trusted botanical and agricultural extensions:
Frequently Asked Questions
Why are my Bay Laurel leaves turning yellow?
Can I grow Bay Laurel indoors?
Explore More