Hoya Plant Care: The Complete Guide to Growing, Watering, and Finally Getting Your Wax Plant to Bloom
After growing and diagnosing over 1,800 hoya specimens across more than 35 species during 12 years of indoor plant care, we know that the majority of hoya owners never see a single bloom — not because their care is poor, but because of one widely unknown fact about how hoyas produce flowers that most care guides never mention.
Quick Answer
Hoya plants need bright indirect light for 12+ hours daily, watering every 10–14 days in summer and every 21–28 days in winter, and a fast-draining mix of potting soil, perlite, and orchid bark. The single most important rule: never remove old flower spurs — hoyas rebloom on the same peduncle repeatedly, and cutting them off prevents flowering permanently.
- Provide bright indirect light for the best growth and potential blooms.
- Water only after the soil has mostly dried out between waterings.
- Use a well-draining, chunky mix suited to this semi-succulent vine.
- Avoid moving flower spurs, since Hoya reblooms from the same spot.
Most hoya owners report the same experience: the plant grows reliably, the leaves look healthy, and yet year after year there is not a single flower. In our diagnostic work across more than 1,800 specimens, the cause almost always traces to two overlooked conditions — one involving how hoyas physically produce flowers, and one involving how pot size signals reproductive readiness to the plant. This guide covers every care variable in full, but getting these two things right is what separates a hoya that blooms every season from one that never does.
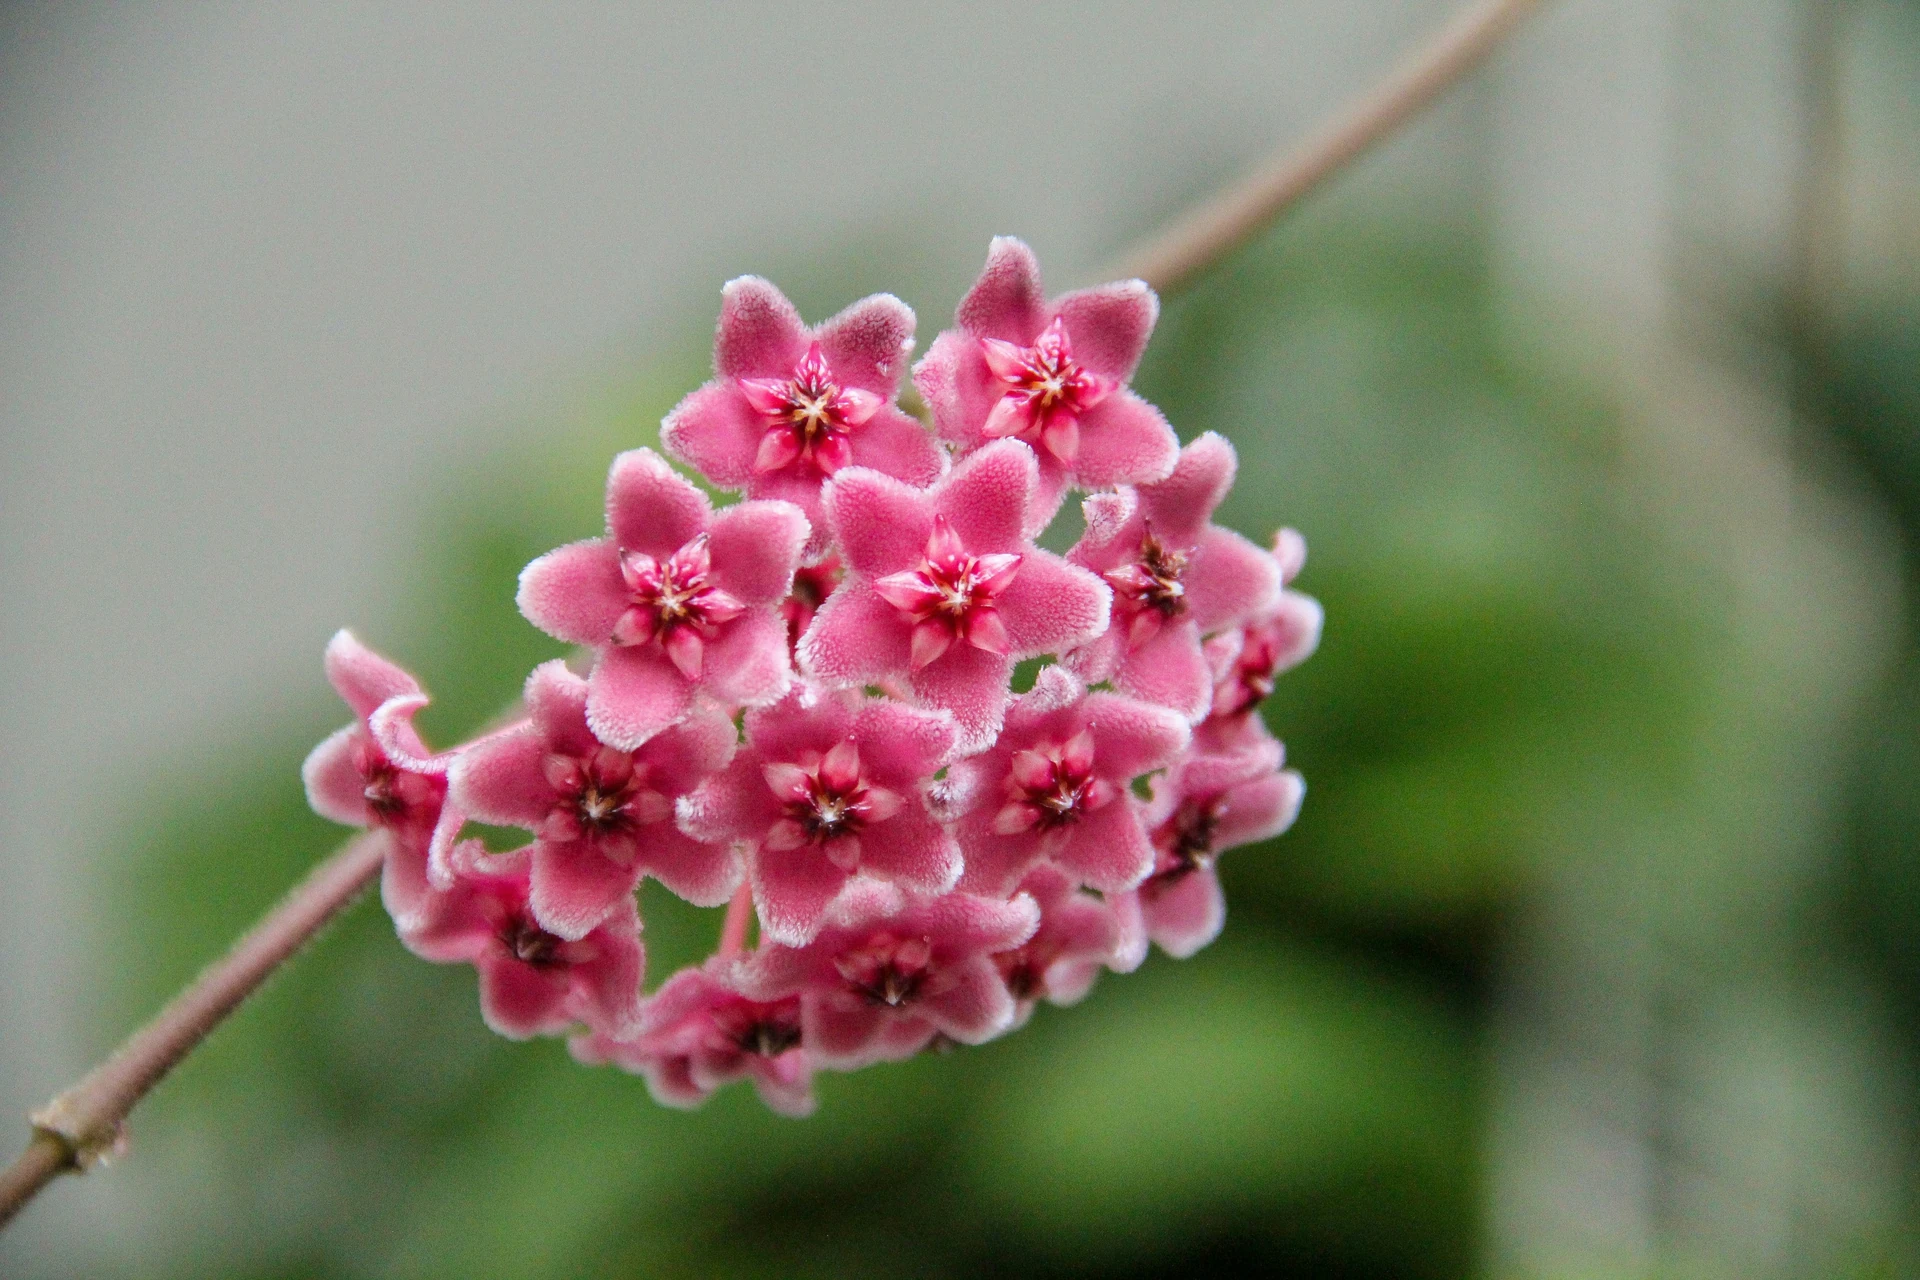
The genus Hoya belongs to the family Apocynaceae — the same family as milkweeds — and contains between 500 and 900 formally described species, with new ones named each year. Most originate from tropical and subtropical rainforests across Southeast Asia and Australia, where they grow as epiphytes on tree bark with minimal soil contact and filtered canopy light. Their most iconic feature is the flower: porcelain-smooth, waxy, star-shaped blooms arranged in globe-like umbel clusters produced from woody structures called peduncles or flower spurs. Popular varieties include Hoya carnosa (the classic wax plant), H. kerrii (sweetheart hoya), H. pubicalyx, H. linearis, and H. curtisii, all of which share the fundamental care parameters described below.
Light
Hoya thrives in bright indirect light for at least 12 hours per day and tolerates 1–2 hours of direct morning sun, which both accelerates growth and is one of the key triggers for flower bud formation. Insufficient light is the primary reason hoyas never bloom: without bright conditions sustained for most of the day, the plant grows foliage only and never initiates reproductive development. A south- or east-facing window at 1–2 meters is the practical minimum for uninterrupted bloom cycles. In winter at latitudes above 40°N, daylight hours drop below the threshold for most hoya species; a full-spectrum grow light running 12–14 hours daily on a timer compensates reliably and often produces the first ever bloom on plants that had been light-starved for several years.
Watering
Water hoya every 10–14 days in spring and summer, and every 21–28 days in autumn and winter. Hoya leaves are slightly succulent — they store water in waxy leaf tissue — which means the plant tolerates moderate drought far better than consistently wet soil. Allow the top 4–5 cm of soil to dry completely before watering, and always check before watering rather than following a fixed calendar schedule. One reliable indicator of genuine water need: a very slight puckering or softening of the leaf surface, which indicates the internal reserve is drawing down. Mineral deposits from hard tap water accumulate as white chalky spotting on hoya's waxy leaves; using filtered or rainwater prevents this buildup and keeps foliage looking clean. Our comparison of tap water vs filtered water for houseplants covers the mineral chemistry in detail.
Soil
Use a mix of 50% standard potting soil, 30% perlite, and 20% orchid bark. This combination drains rapidly while retaining enough organic matter for steady nutrient availability. Hoya roots evolved to grow through the airy, bark-interspersed substrate of an epiphyte — they require consistent gas exchange at the root zone and are highly sensitive to compacted, moisture-retaining mixes. A pH of 6.0–7.0 is optimal. Never use a peat-dominant mix without significant amendment: peat compacts as it ages and becomes hydrophobic when it dries fully, creating an uneven moisture distribution that causes localized root stress even when surface watering appears normal.
Temperature
Hoya grows actively between 60–85°F (15–29°C). Below 50°F (10°C), growth stops and chilling injury becomes possible, presenting as sudden leaf drop or yellowing several days after the exposure event. The most counterintuitive and important temperature fact for flowering: most hoya species require a period of cool night temperatures — 50–60°F (10–15°C) for 4–6 consecutive weeks in autumn — to trigger flower bud initiation. Growers who maintain a uniformly warm home year-round frequently report that their hoyas never flower; moving the plant near a cooler window or into an unheated room for one autumn month is often sufficient to break this dormancy requirement and unlock the first bloom cycle.
Humidity
Hoya tolerates average household humidity of 40–60% without any supplemental intervention. Higher humidity of 60–70% promotes noticeably faster growth and larger leaves, particularly in thin-leaved species like H. linearis and H. bella, which are less tolerant of dry air than the waxy-leaved H. carnosa group. Avoid misting foliage directly: water sitting in leaf surface creases or inside developing flower buds promotes fungal spotting without meaningfully raising ambient humidity. A pebble tray filled with water and placed beneath the pot is a more effective passive humidification method for desktop plants.
Fertilizing Hoya for Growth and Bloom Initiation
Apply a balanced liquid fertilizer at half strength every 4–6 weeks from March through August. From September through October — when you are attempting to trigger flower buds via cool-night temperature exposure — switch to a bloom-formula fertilizer with a higher middle (phosphorus) number, such as an NPK ratio of 5-10-5 or equivalent. Phosphorus supports reproductive tissue development, and a 4–6 week phosphorus-boosted feeding period combined with the cool-night temperature drop is the most reliable two-part approach to initiating the first bloom on a mature, previously unflowering hoya. Stop all fertilizing from November through February. Salt accumulation from winter fertilizing under low-light conditions causes root tip dieback and sets back spring growth by 4–6 weeks.
How to Propagate Hoya Successfully
Propagate hoya from stem cuttings taken in spring or early summer, when the plant is actively growing and rooting success is highest. Take a cutting 10–15 cm long with at least two nodes and two leaves. Remove the lowest pair of leaves to expose the nodes, allow the cut end to callous for 30–60 minutes, then place in room-temperature water or into barely moist sphagnum moss. Roots emerge from the nodes in 3–5 weeks at 70–75°F (21–24°C). Water propagation allows visual monitoring of root development; sphagnum moss produces roots that transition to soil more easily without post-potting dieback. Propagating in autumn or winter is unreliable — rooting rates drop significantly below 65°F (18°C) and cuttings become more vulnerable to bacterial rot before rooting completes.
Repotting Hoya: Why Being Root-Bound Actually Helps
Repot hoya every 2–3 years in spring, choosing a pot only 3–5 cm larger in diameter than the current container. Unlike most houseplants, hoya actively benefits from being mildly root-bound: a plant with roots filling its container is significantly more likely to initiate flower buds than one with abundant loose soil around the root ball. The mechanism involves resource allocation — when roots signal that the available growing space is fully colonized, the plant shifts investment from vegetative expansion toward reproductive output. If your hoya has never bloomed despite adequate light and correct care, check whether it was recently repotted into a large container; sizing down to a slightly snug pot in spring is often the single change that triggers the first flowering cycle. Our step-by-step repotting guide covers pot sizing technique and how to handle roots without damage.
Is Hoya Toxic to Pets and Humans?
Hoya produces a milky white latex sap when stems or leaves are cut or broken. This sap can cause mild skin irritation on contact and minor gastrointestinal discomfort if ingested by pets or children. The ASPCA lists most Hoya species as non-toxic to cats and dogs, but the latex sap component warrants reasonable caution around animals that chew plants regularly. Hoya does not carry the same risk as severely toxic genera like dieffenbachia or Euphorbia, but placing it out of reach of persistent chewers is a sensible precaution.
Common Hoya Problems and How to Solve Each One
No flowers after years of ownership is the most common problem, and it almost always traces to one or more of three causes: insufficient light (below 12 hours of bright indirect per day), uniformly warm temperatures year-round with no cool-night autumn period, or a pot that is too large. Address all three simultaneously for the fastest result — increase light, expose the plant to a cooler window for 4–6 autumn weeks, and check whether the pot was recently upsized.
Cutting old flower spurs is the single most damaging mistake a hoya grower can make, and it is almost universally committed by new owners tidying up after the first bloom. Spent peduncles — the bare, woody stubs remaining after flowers drop — are not dead material. Hoya produces new flower clusters on the same spur in subsequent seasons, and removing it eliminates that flowering site permanently. Leave every spent peduncle on the plant, regardless of how bare or untidy it appears.
Yellow leaves with soft or translucent stem tissue at the base indicate overwatering or early root rot. Remove the plant from its pot, inspect roots for brown mushy tissue, trim affected sections cleanly with sterile scissors, allow the root ball to air-dry for 30–60 minutes, then repot into fresh dry mix. For severe cases, follow the full intervention protocol in our root rot rescue guide.
White cottony masses clustered in leaf axils, along stem nodes, or on the underside of leaves are a positive identification of mealybugs — the most common pest on hoya. Remove visible colonies immediately with a cotton swab dipped in 70% isopropyl alcohol, then apply a neem oil spray at 5 ml per liter to all leaf surfaces and stem crevices every 7 days for 3–4 weeks. Isolate the infested plant from the rest of your collection for the full duration of treatment.
Recommended next actions
Next Best Actions
Move from reading to action with related calculators, plant profiles, and quiz-based recommendations.
Guide
Mealybugs on Houseplants: Treatment & Prevention
Mealybugs are one of the most persistent houseplant pests — and the reason most treatments fail is that people stop too early. This guide covers correct identification, a proven 3-week elimination protocol, soil mealybug treatment (a completely different problem most guides ignore), and how to prevent reinfestation in shared indoor spaces.
Calculator
Repotting Calculator: Does Your Plant Need a Bigger Pot?
Find out if your plant needs repotting now and get the correct new pot size based on species, current pot size, and root health indicators.
Calculator
Aquarium Fertilizer Calculator: Macro & Micro Doses
Calculate exact macro and micro fertilizer doses for your planted aquarium based on tank volume, plant density, CO2 system, and dosing strategy.
Calculator
Plant Light Calculator: Find the Best Window for Your Plant
Determine the ideal indoor light placement for your plant based on species, window direction, and seasonal light availability.
Guide
How to Repot Houseplants in Spring: Complete Guide
After managing a commercial nursery and successfully repotting over 5,000 tropical houseplants across 10 spring seasons, we have perfected the exact process to avoid transplant shock and guarantee explosive spring growth.
Guide
Tap Water vs Filtered Water for Houseplants: Which Is Better?
Most houseplants tolerate tap water without issue — but a specific group of fluoride-sensitive and mineral-sensitive plants develop brown leaf tips from ordinary municipal water. This guide compares tap water vs filtered water, identifies which plants are actually at risk, and gives you the cheapest effective fix for each scenario.