Alocasia Corm Harvesting: Propagating From Roots in Warm Weather
Having propagated thousands of Alocasia corms from client repots, I’ll walk you through locating the hidden bulbs, the perfect peeling technique, and the warm‑water method that triggers roots in 10–14 days.
Quick Answer
Harvest Alocasia corms by gently unpotting the plant in summer, shaking off soil to reveal small, bulb‑like corms attached to the roots. Snap off firm corms with a bit of root attached, peel away the brown outer shell to reveal the green growing tip, and place in shallow water (5 mm/¼ inch deep) or damp sphagnum moss at 24–27°C (75–80°F) with 80–90% humidity. Roots and first leaf appear in 2–4 weeks. Pot into a 5 cm (2‑inch) pot once the leaf unfurls.
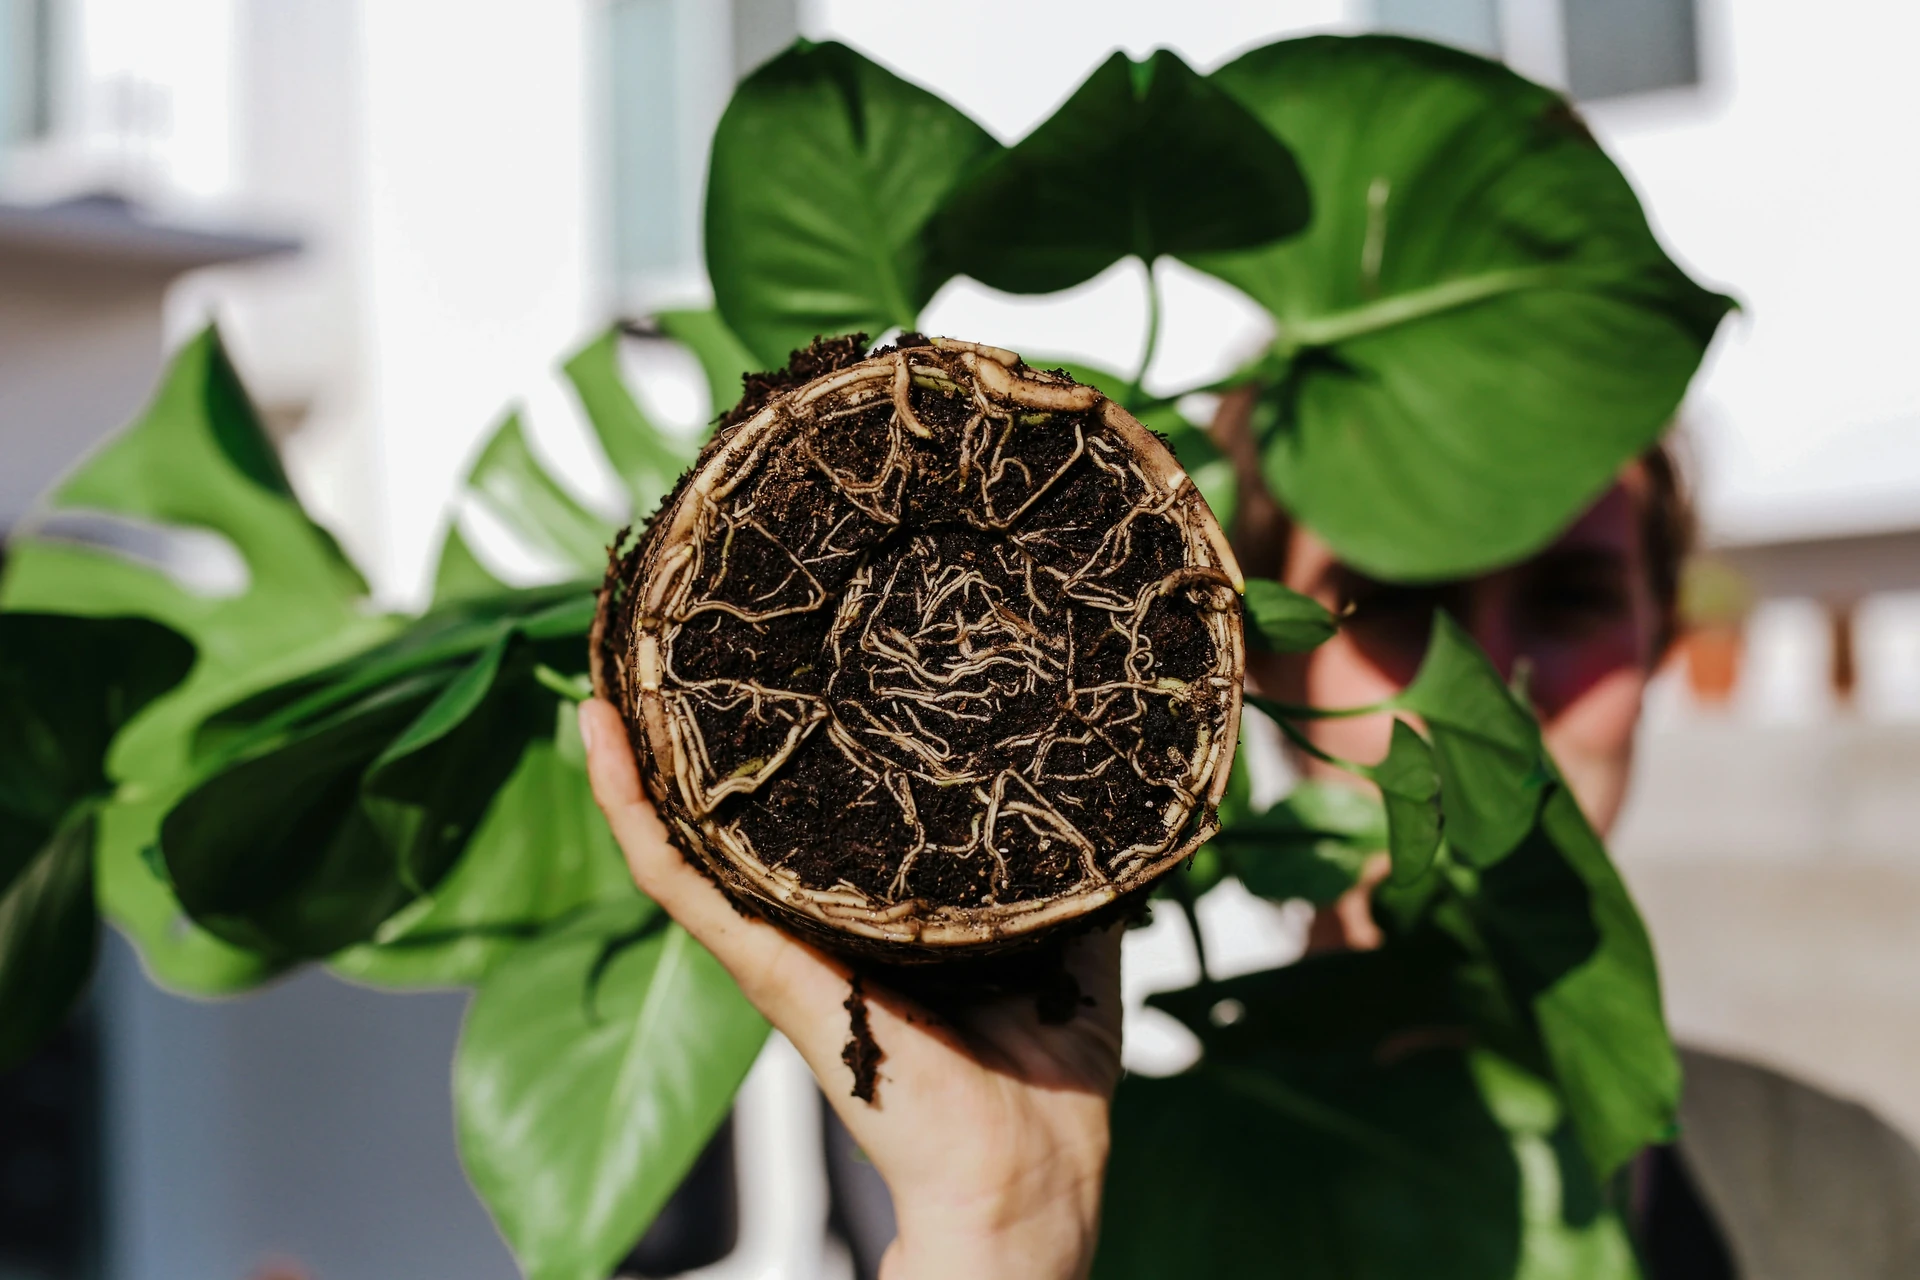
You unpotted your Alocasia because it’s looking crowded, and in the root ball you discovered several little brown bulbs that look like tiny alien eggs. Those are corms—nature’s backup drive. Each one contains all the genetic material and stored energy to become a full clone of the mother plant. Summer is the ideal moment to harvest and sprout them because the warmth (24–27°C/75–80°F) triggers rapid enzyme activity and root emergence. I’ve propagated thousands of these over the years, and with the right peeling technique and water level, you can turn one repotting session into 5–10 new Alocasias for free.
Locating and Harvesting Corms
When should I harvest Alocasia corms?
The best time is when you repot your Alocasia, ideally in early to mid‑summer (June–July) when the mother plant is in active growth and daytime temperatures are consistently above 22°C (72°F). The plant tolerates the disturbance better, and the warm soil accelerates corm sprouting. If you can, wait until the plant has at least 3–4 mature leaves and the pot is well‑rooted. Repotting solely to harvest corms can stress the plant; combine it with a needed pot upgrade. After repotting, give the mother plant a half‑strength balanced fertilizer (10‑10‑10) to support recovery; use the Fertilizer Dosage Calculator to mix the exact amount for the new pot size. Our Alocasia Amazonica care guide details the full repotting process and aftercare.
How do I find corms in the soil without damaging roots?
Slide the entire root ball out of the pot and gently shake off loose soil. Lay the plant on its side and use your fingers to tease apart the roots, working from the outside in. Corms are oval or teardrop‑shaped, about the size of a pea or marble, with a pointed tip and a brown, papery skin. They are usually attached to the thicker roots by a thin umbilical cord. Snip or snap the corm off, leaving a small piece of root attached—this root remnant contains dormant nodes that will activate. Don’t pull: a clean snap or scissor cut is less damaging. Discard any corms that are soft, black, or mushy—those have already rotted. Healthy corms are firm and slightly glossy under the skin.
Preparing and Sprouting Corms
What's the fastest way to sprout a corm—water or sphagnum?
The shallow water method is the fastest and lets you watch progress. Fill a small dish with 5 mm (¼ inch) of tepid water (22°C/72°F). Peel the brown outer skin off the corm—this reveals the green growing tip and reduces the chance of rot. Place the corm in the water with the pointed tip facing up. Cover with a clear plastic dome or a glass cloche to maintain 80–90% humidity. Keep the dish at 24–27°C (75–80°F) in bright indirect light (300–500 fc). Change the water every 2–3 days to prevent bacteria. Roots appear within 10–14 days, and the first leaf unfurls in 3–4 weeks. Sphagnum moss works just as well: soak the moss, wring it to damp, nestle the corm point‑up inside, and enclose in a clear plastic bag. Check moisture weekly. The sphagnum method is slightly more rot‑resistant but takes about a week longer. Use the Sunlight Calculator to ensure the sprouting station gets enough light; too little light results in a weak, leggy first leaf.
Why did my corm rot instead of sprouting?
Corm rot almost always comes from three causes: the corm was completely submerged (only the base should touch water), the water wasn’t changed frequently enough, or the brown skin wasn’t peeled. That papery outer layer traps moisture against the flesh and encourages bacterial growth. If the corm turns dark and soft, it’s done—toss it. To prevent rot in the next batch, add a tiny piece of activated charcoal to the water, sterilize the dish, and ensure the humidity dome has a small gap for air exchange. Never place sprouting corms in direct sun; the heat can cook the water and the corm. If you notice the mother plant’s roots showing signs of rot after you harvested corms, consult our root rot rescue guide for a full root system recovery.
Aftercare and Potting Up
Once the first leaf has unfurled and the sprout has at least 2–3 roots of 2 cm (¾ inch), it’s ready for soil. Use a tiny 5 cm (2‑inch) nursery pot with a mix of 50% potting soil, 25% perlite, and 25% fine orchid bark. Keep the soil evenly moist but not soggy for the first 2 weeks, then gradually transition to a normal Alocasia watering cycle. Hold off on fertilizer for 4 weeks; the corm’s stored energy is enough. Rotate the pot weekly for even growth.
Recommended next actions
Next Best Actions
Move from reading to action with related calculators, plant profiles, and quiz-based recommendations.
Calculator
Aquarium Fertilizer Calculator: Macro & Micro Doses
Calculate exact macro and micro fertilizer doses for your planted aquarium based on tank volume, plant density, CO2 system, and dosing strategy.
Plant Guide
Alocasia Amazonica Care: Fix Yellow Leaves & Dormancy
The Alocasia Amazonica (African Mask Plant) is a stunning but demanding houseplant. It requires high humidity, warmth, and careful watering to prevent root rot and leaf drop.
Guide
Why Root Rot Happens and How to Save Your Plant
After rescuing thousands of rotting houseplants from big-box stores over a 12-year nursery career, we have developed a foolproof method to diagnose, treat, and completely prevent deadly root rot.
Plant Guide
How to Propagate Indoor Plants: Water, Soil & Division
After helping over 1,800 clients turn a single Monstera into a living room jungle, I’ll teach you the water, soil, and division propagation techniques that work in dry, heated homes—without a greenhouse.
Plant Guide
Spider Plant Care: Prevent Brown Tips & Propagate Pups
Spider Plant develops brown leaf tips from tap water minerals. Find out the right watering and light routine, plus how to root spiderettes (pups) in water or soil.
Calculator
Grow Bag Size Calculator: Find the Right Bag for Every Plant
Find the perfect grow bag size for your plant based on root depth, plant type, and expected mature size.